Sometimes there are situations when you need to replace the keyboard of your Macbook. If you want to avoid wasting time and money on masters, you can do all the work by simply following the step-by-step instructions on how to replace the keyboard MacBook Pro and observing the recommendations, as well as the sequence of actions.
MacBook Pro Keyboard Replacement: 7 Basic Steps
It is recommended to find the manual for your model if it is different from the Apple MacBook Pro 13″ (A1502) review.
It is mandatory to fully discharge the battery to avoid short circuits during operation.
1. Removing the Rear Cover
Turn the device over and loosen all the screws around the perimeter. Insert your fingers between the bottom and upper part of the case, remove the back cover from the latches, and set it aside.
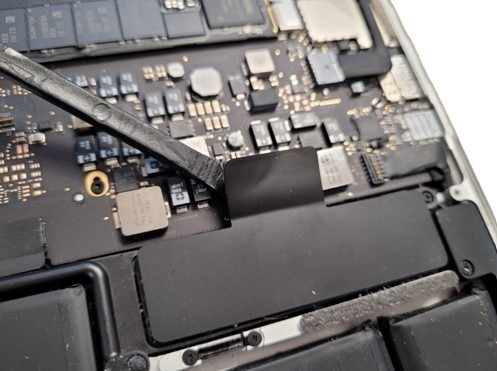
2. Disconnecting the Battery
Use a spudger to lift the connector between the battery and the motherboard and detach it.
3. Right and Left Speaker
Remove the right speaker by proceeding as follows:
- Remove the two screws that secure the output input board bracket.
- Remove the bracket and disconnect the cable from the motherboard and then from the case.
- Unscrew the three screws and remove the speaker.
Follow the same steps for the left speaker.
4. MagSafe Power Board
Using the plastic tab, open the display cable connector and disconnect it from the motherboard while moving parallel to the device case.
Next step:
- Remove the DC input board connector from the socket on the motherboard.
- Remove the two screws that secure the MagSafe board to the case.
- Remove the board from the top case by gently pulling the cable and remove it.
5. Disabling Connectors and Devices
You will need to disconnect a number of cables and devices to replace the keyboard:
- radiator (remove four screws);
- iSight camera and microphone cable (disconnect from the motherboard and heatsink housing);
- fan (remove the cable from the connector, unscrew the three screws);
- three antenna cables from the AirPort (using a spudger);
- I/O board (remove the three screws and release the ports from the top of the case);
- keyboard backlight, microphone, and keyboard cable (lift the plate on the ZIF connector and remove the cables).
Finally, you need to remove five 3.5mm screws, lift the motherboard and remove it, thus, freeing the ports from the edge of the top case.
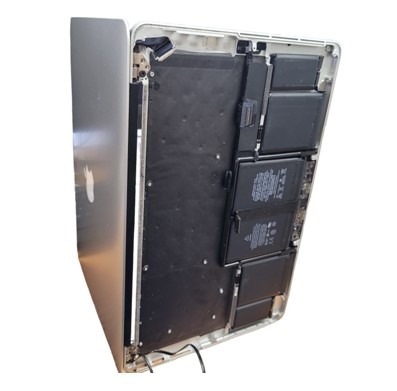
6. Removing the Display
First, use tweezers to remove the rubber covers from the right and left hinges, and then:
- Remove the two screws that secure the hinges on the upper housing and the two inner screws on each side.
- Open the MacBook Pro a little wider than a right angle and place it on its ribs.
- Hold the display and unscrew the latter from the bottom bracket.
7. Installation
Remove the old keyboard and replace it with the new one. When reassembling the device, proceed as described above but in reverse order.
If you doubt that you can replace the keyboard yourself, seek professional help from the masters.
Source: Blog Appleparts.io
Read Also: Amazon GPT55X